Preparation/parts:
- Zebra Mobile printer (in this case ZQ620 203dpi)
- Z-Designer (Basic or Pro)
- Windows Computer
- Android mobile device
- Zebra Print Station App
Zebra Print Station is an application for Android that allows you to load a number of templates onto the printer and then select from a list of the stored templates. They can be either a set template or one that allows the user to enter information to be printed on the label.
In order to create a template for use in Zebra Print Station, you will need to create a label using the Z-Designer software in Windows. Either the Basic or the Pro version of the software can be used to create the template; but the Basic edition will only allow one field for entry on the template.
Part 1
To start off, you'll want to install the appropriate version of the ZPL driver for your Zebra printer. In our case the printer is the ZD620 (ZDesigner ZQ620 ZPL Driver)
- Run through the installer, once at screen shown below, choose to configure the system.
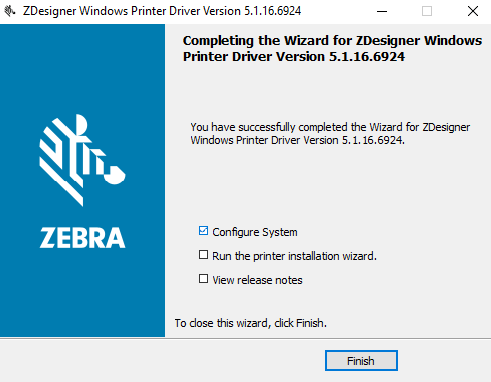
- After the install is complete, plug in the printer and turn it on.
- The Windows Computer should auto-install the correct driver, if not use the 'Zebra Setup Utilities' to install the printer.
- Calibrate the printer and set the appropriate size and media type settings.
Step 2 - Create Template
- Install ZebraDesigner 2
- Open the ZebraDesigner 2 program
- When the program opens it will prompt if you want to select a recently used label or 'Create a new label'
- Choose to 'Create a new label'
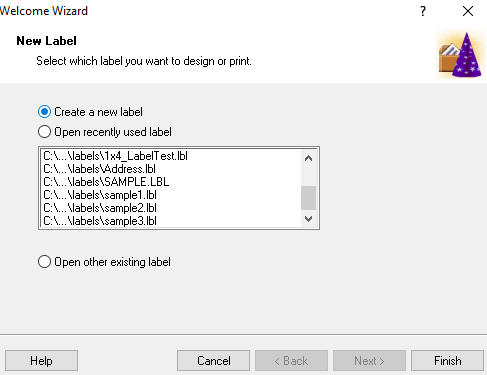
- Make sure the Mobile Printer you are going to load the template to is selected (ZQ620 ZPL)
- (if you had not made changes to the driver for the label settings before now, Click the Properties button and make those changes now)
- Click next through the settings for the label, confirming they are correct (label dimensions, etc.).
- Once the template is open, select what you want on the label, for this example, we'll use a simple barcode.
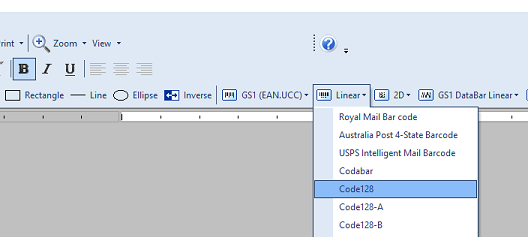
- You can choose fixed data that will be the same on every label or variable data that will prompt for input when printing from the Print Station app.
- Select Variable Barcode data
- Select a type of variable field and go through the available settings for that field.
- Once complete, it will show up on the label (please note that you may need to resize it to fit on the label).
After completing your label, save the file (Please note that the file name is restricted to 8 characters).
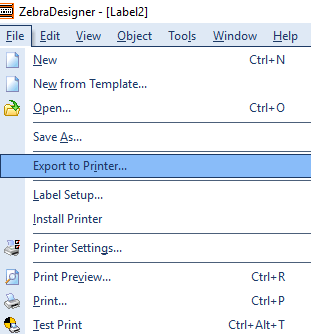
To load the file to your printer, go to the File menu and select the 'Export to Printer...' option and select Interal Flash for the method.
Step 3 - Zebra Print Station
After the template has been loaded onto the printer, detach the printer from the computer and connect to it with your Android Device by selecting it from available devices in the Zebra Print Station app. Once the printer is selected, it should load the list of templates stored on the printer. Make sure that the printer is loaded with the correct labels for your template.