How to Set Up Your Pole Display: Step-by-Step Guide
What’s in the Box
Here’s what you’ll find inside the box:
- Main Display
- 2 Sections of Poles
- Connecting Pole Piece
- Pole Display Base
- VESA Mount
- Monitor Power Supply
- HDMI Cable
- Screws and Magnets
What You’ll Need: A Philips head screwdriver
Step 1: Assembling the Pole and Base
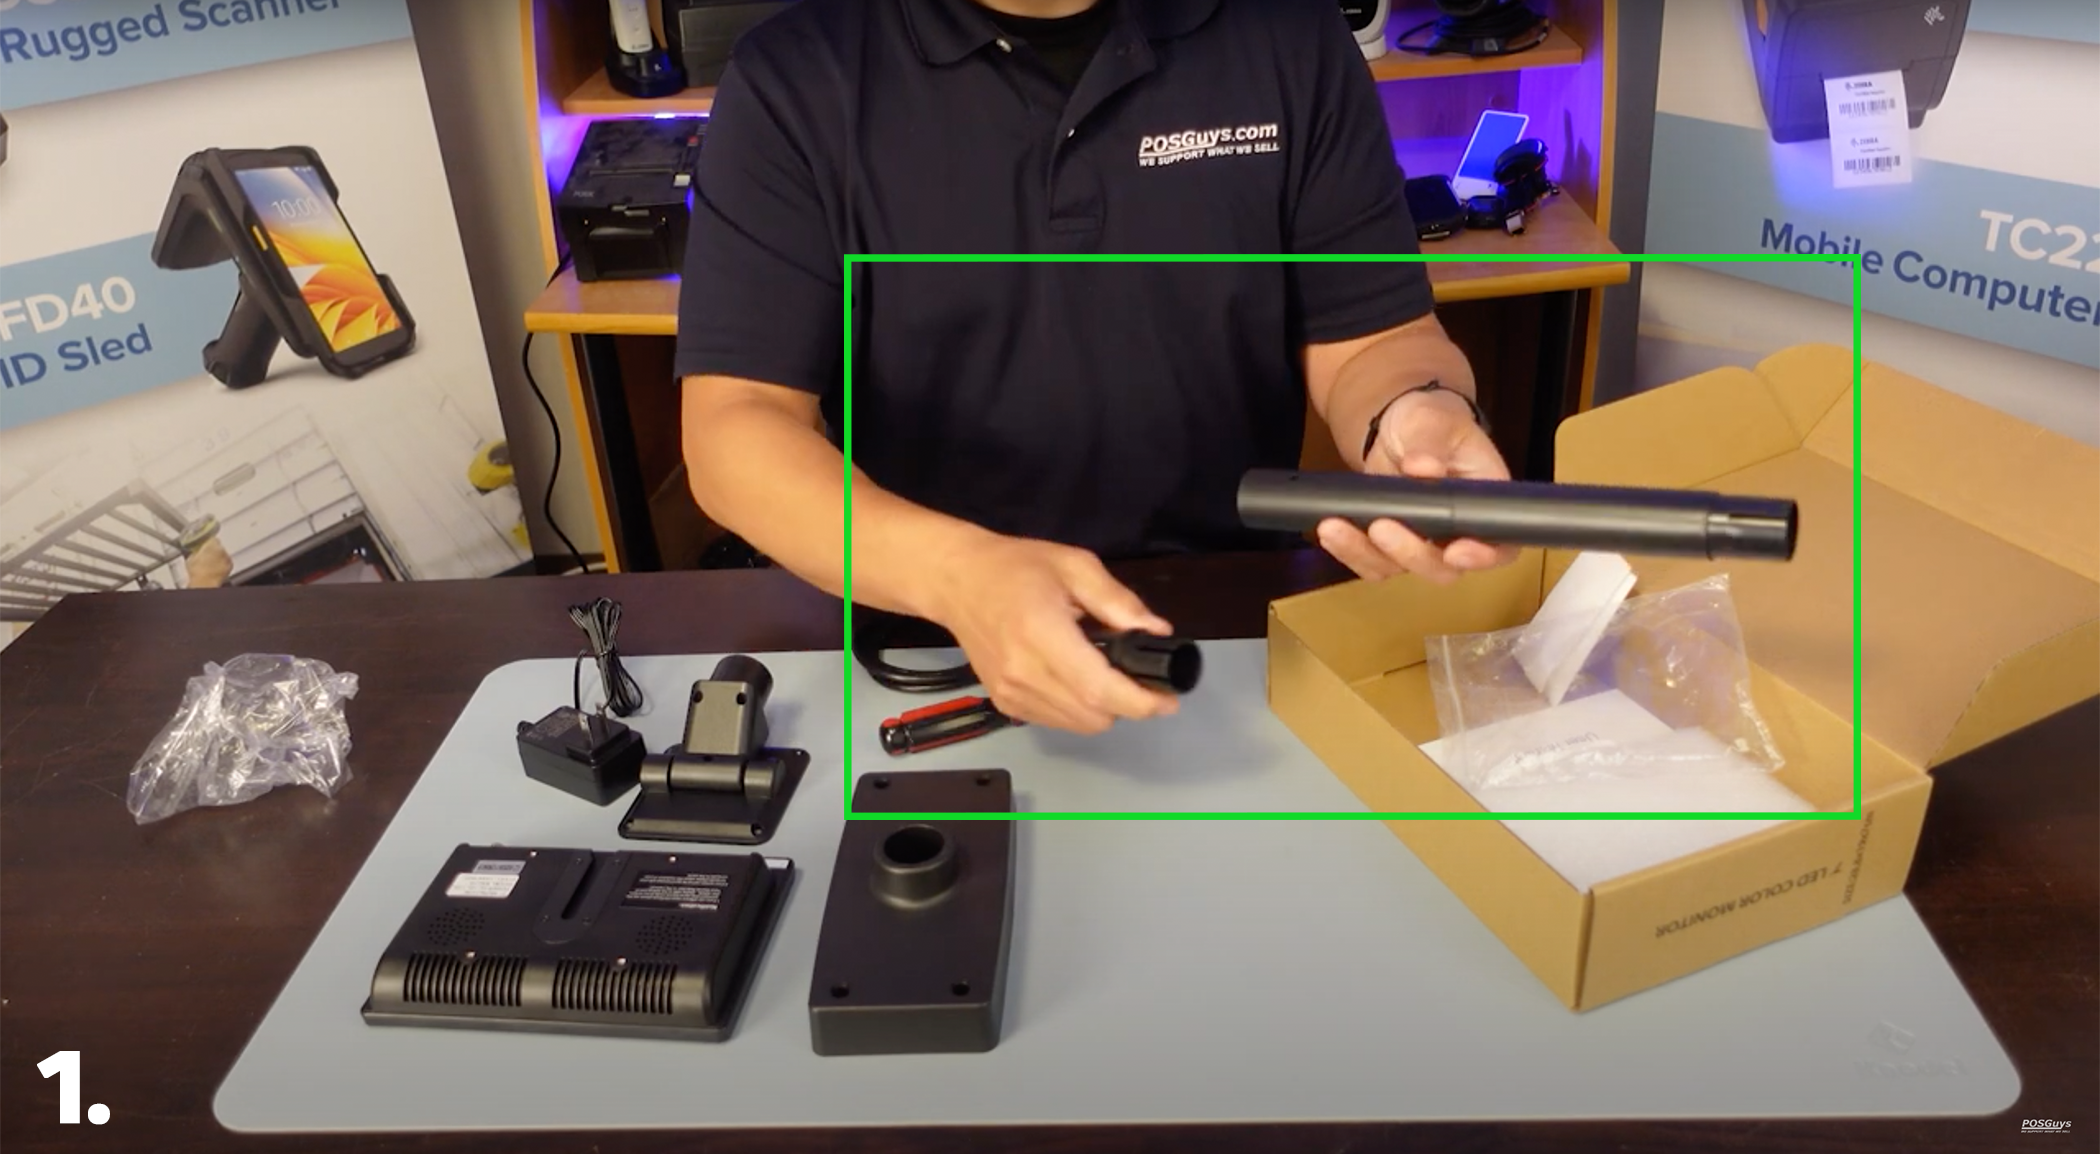
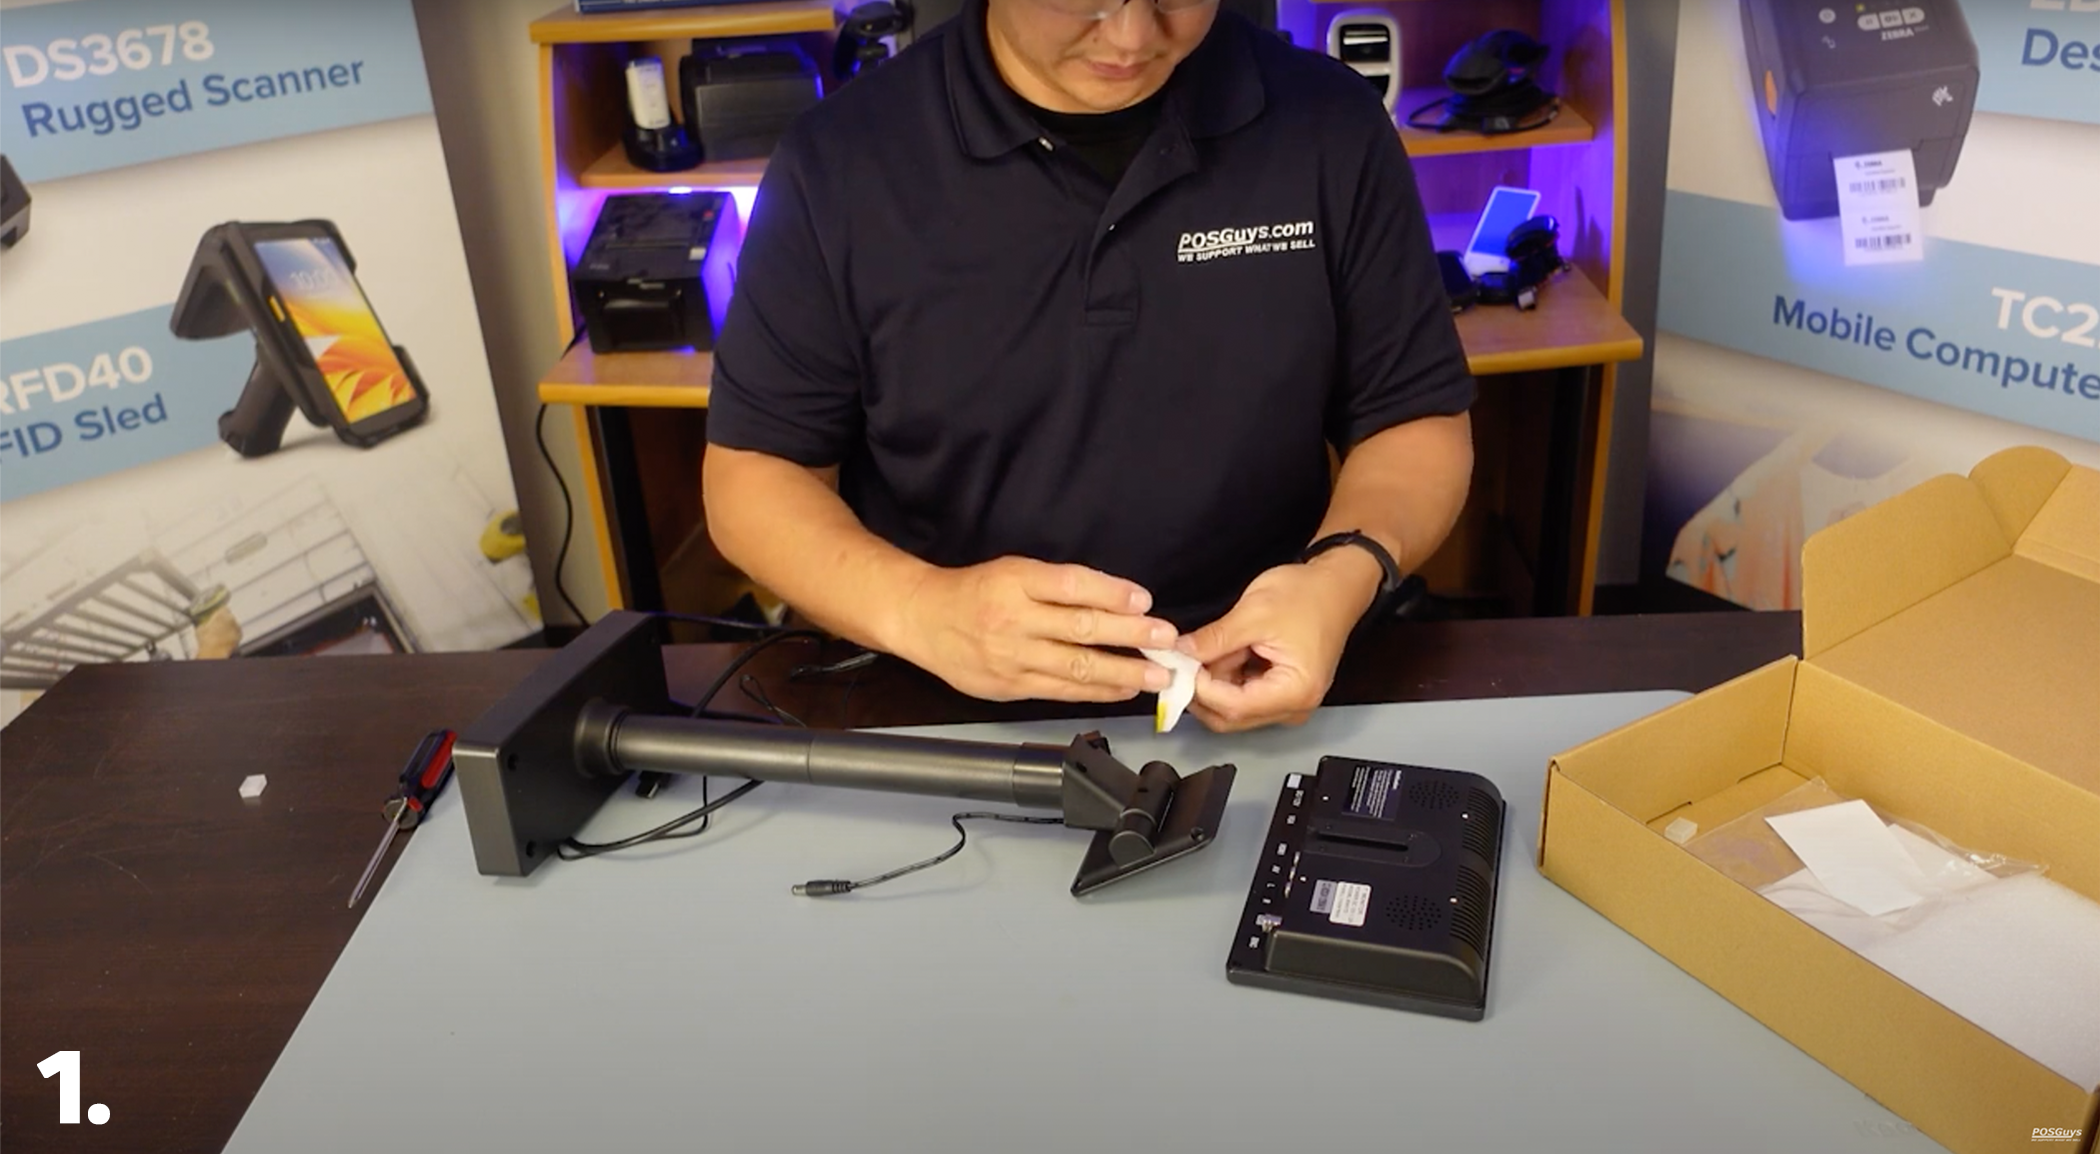
1. Snap the two sections of the pole together.
2. Attach the connecting piece to the bottom of the pole. (See image 1.)
Step 2: Routing the Cables
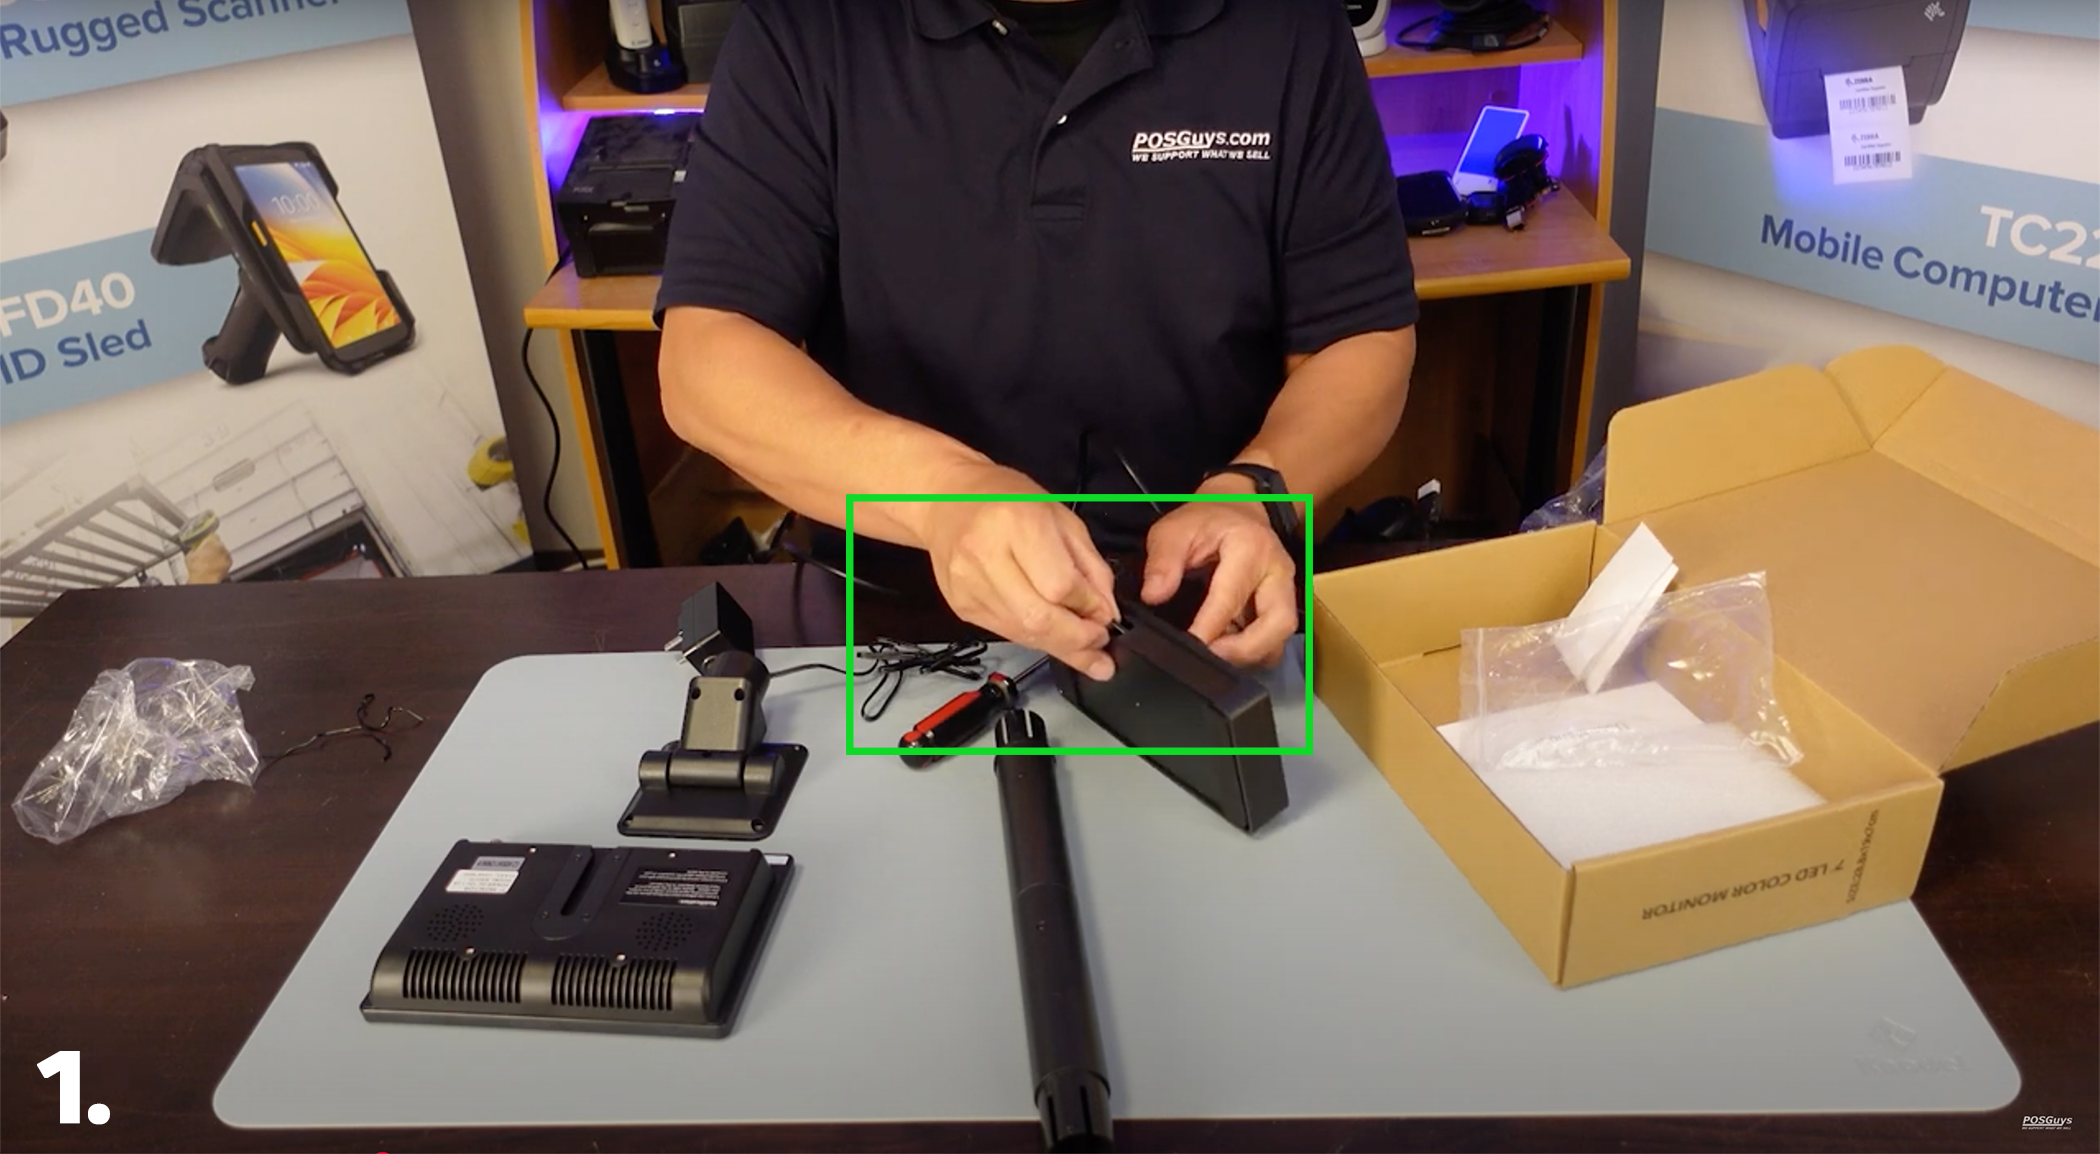
1. Route both the HDMI and power cables through the back slot on the base. (See image 1.)
2. Continue threading them up through the center of the base.
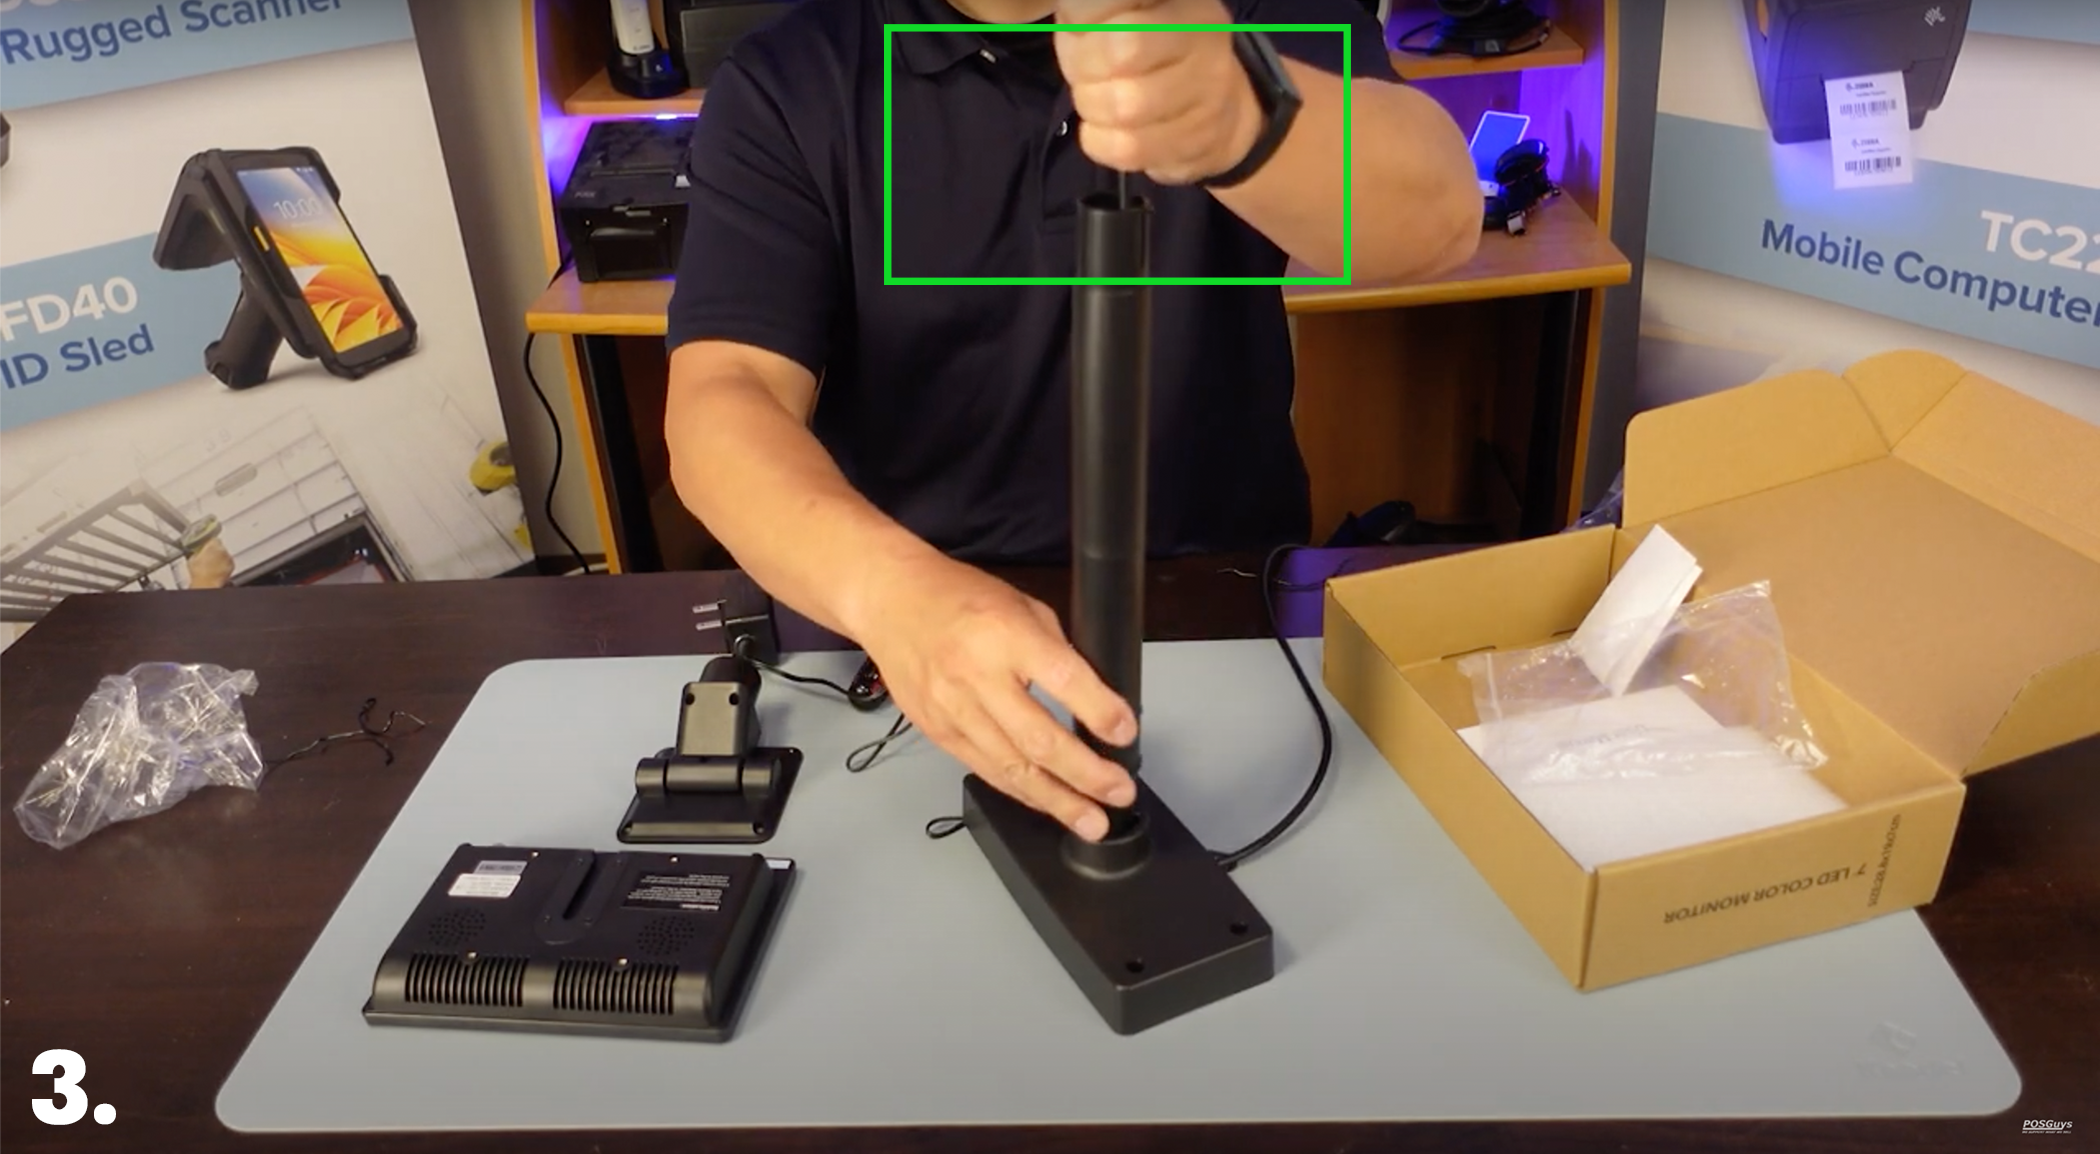
3. Take the pole and run the cables through the pole. (See image 3.)
4. Snap the assembled pole into the base once cables are through.
5. Unscrew the three screws from the VESA mount. You will now have two separate pieces.
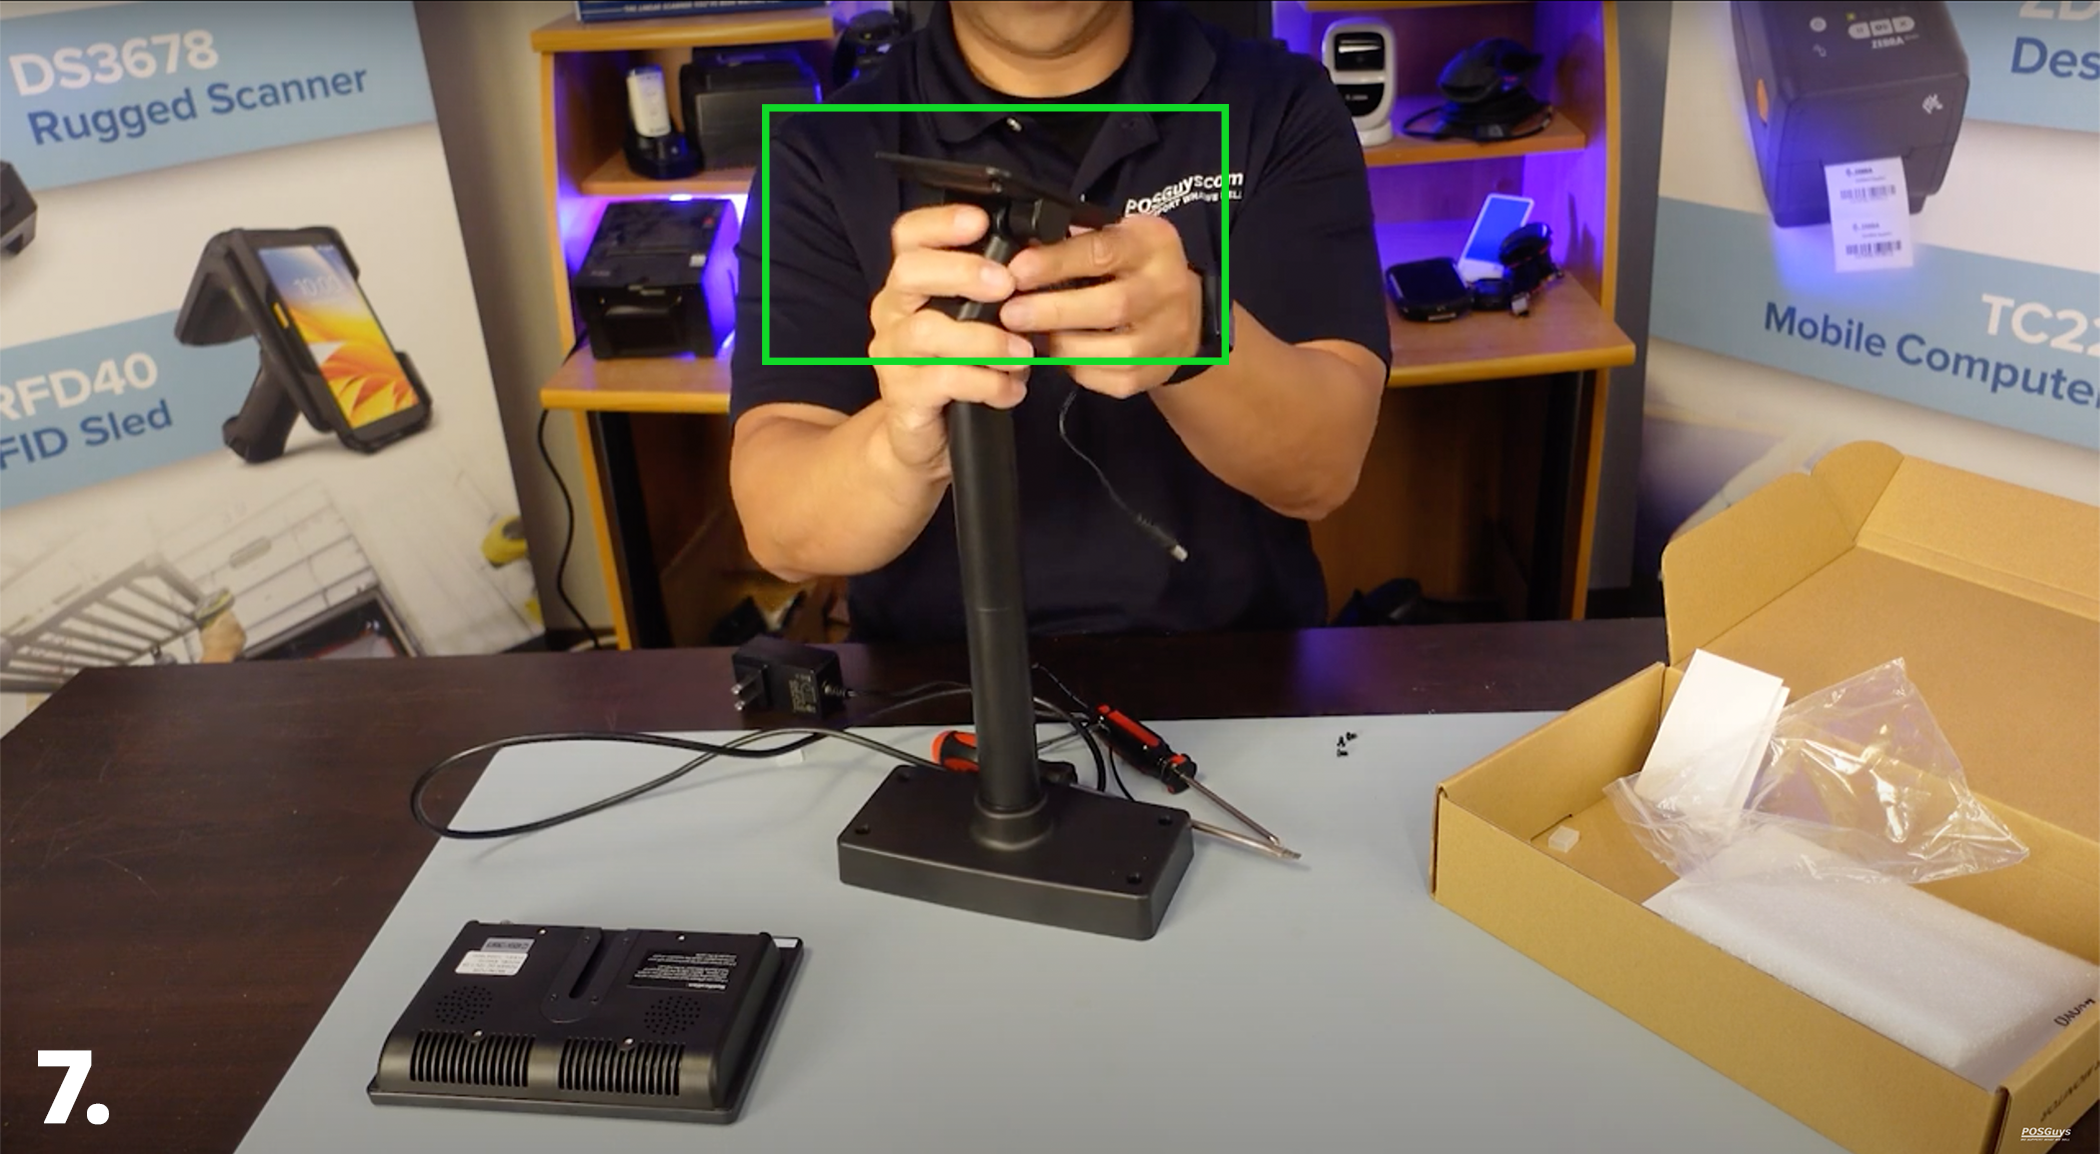
6. Run the cables through the VESA mount piece that snaps onto the top of the pole.
7. Run the remaining cables through the slot of the flat VESA mount plate. (See image 7.)
8. Reattach the screws to secure the mount in place.
Step 3: Mounting the Display
1. Lay the pole and base flat on a table. (See image 1.)
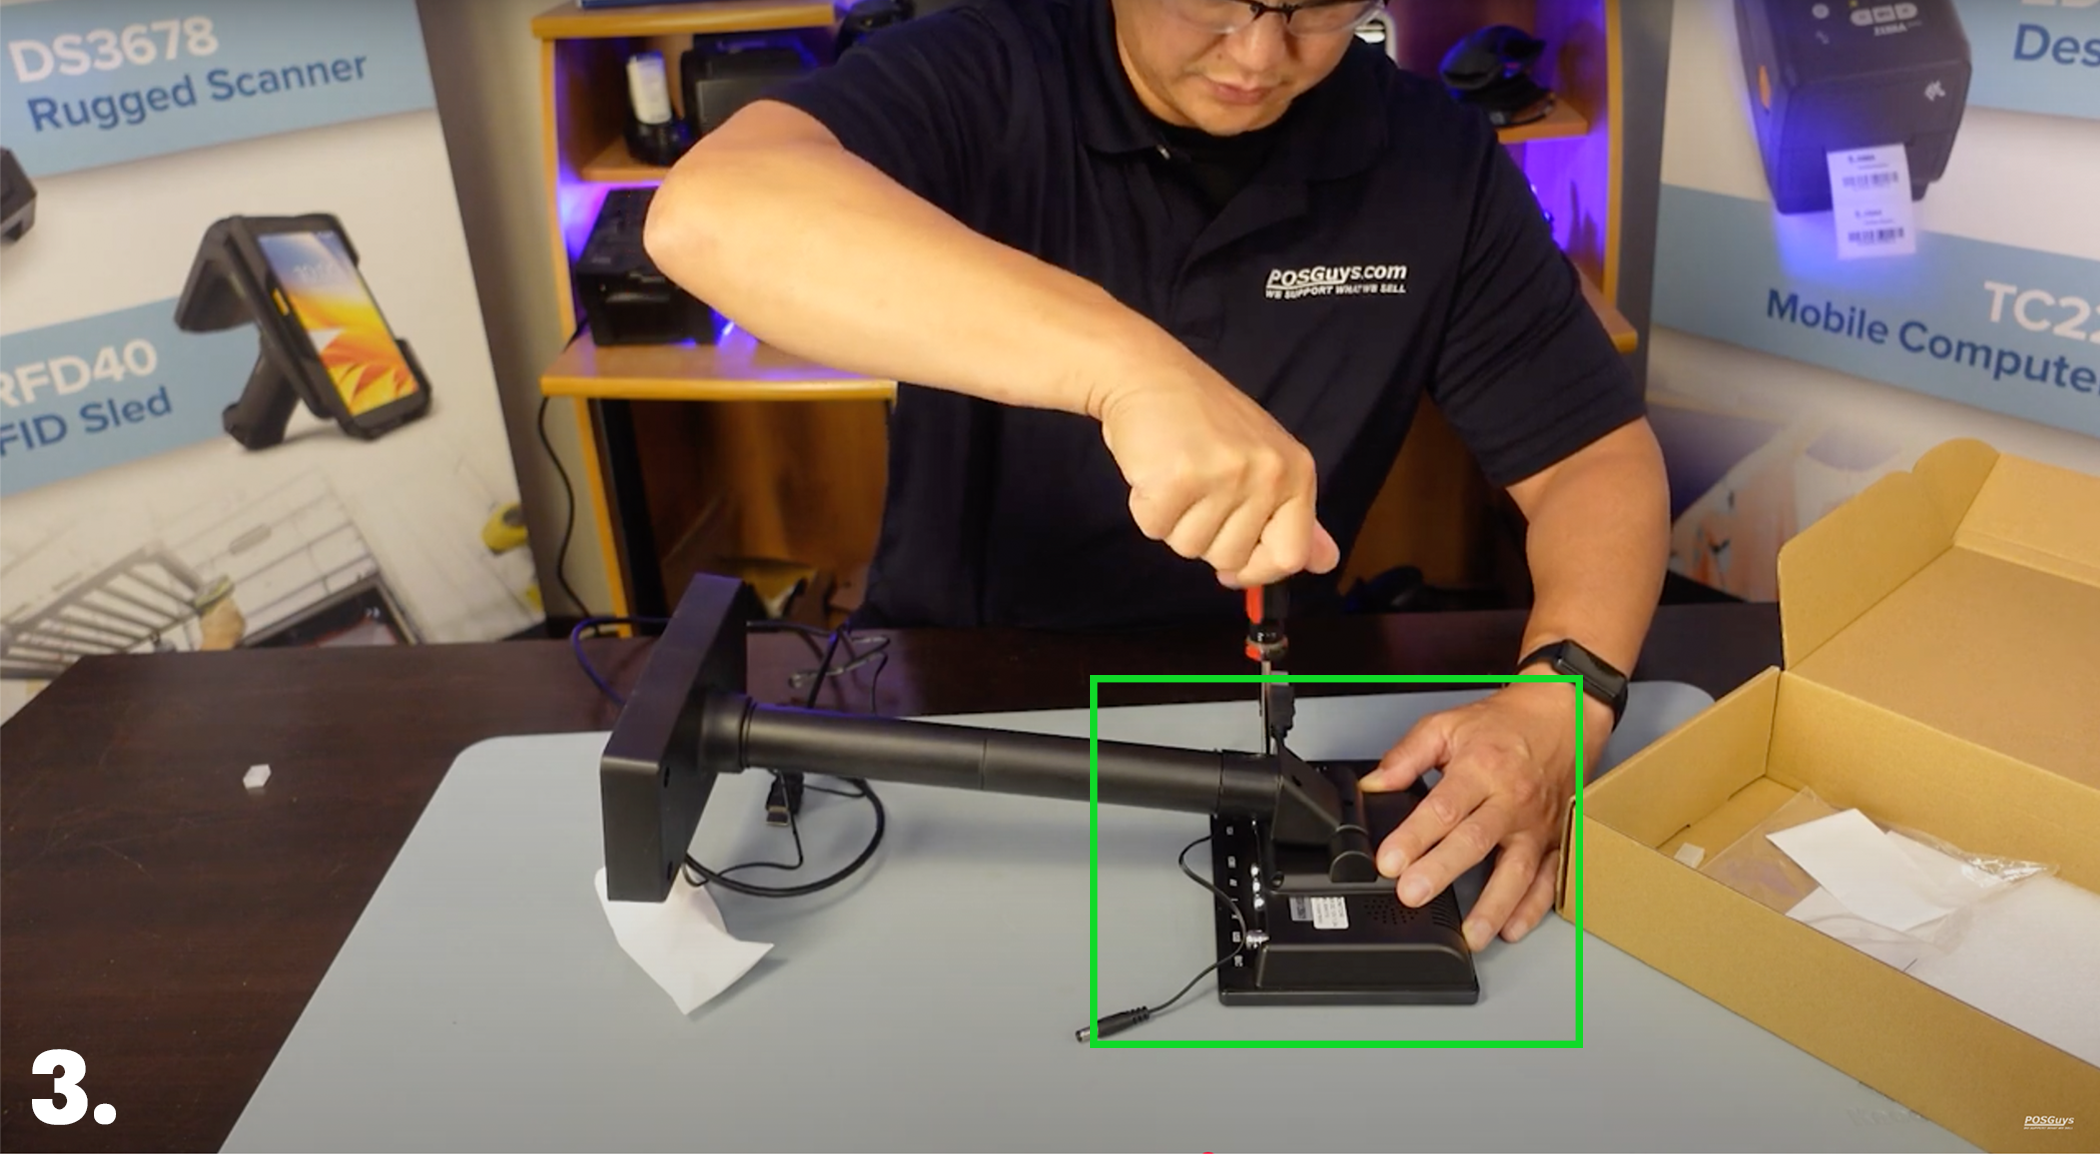
2. Align the VESA mount with the back of the display.
3. Use the included four screws to secure the display to the mount. (See image 3.)
Step 4: Connecting the Display
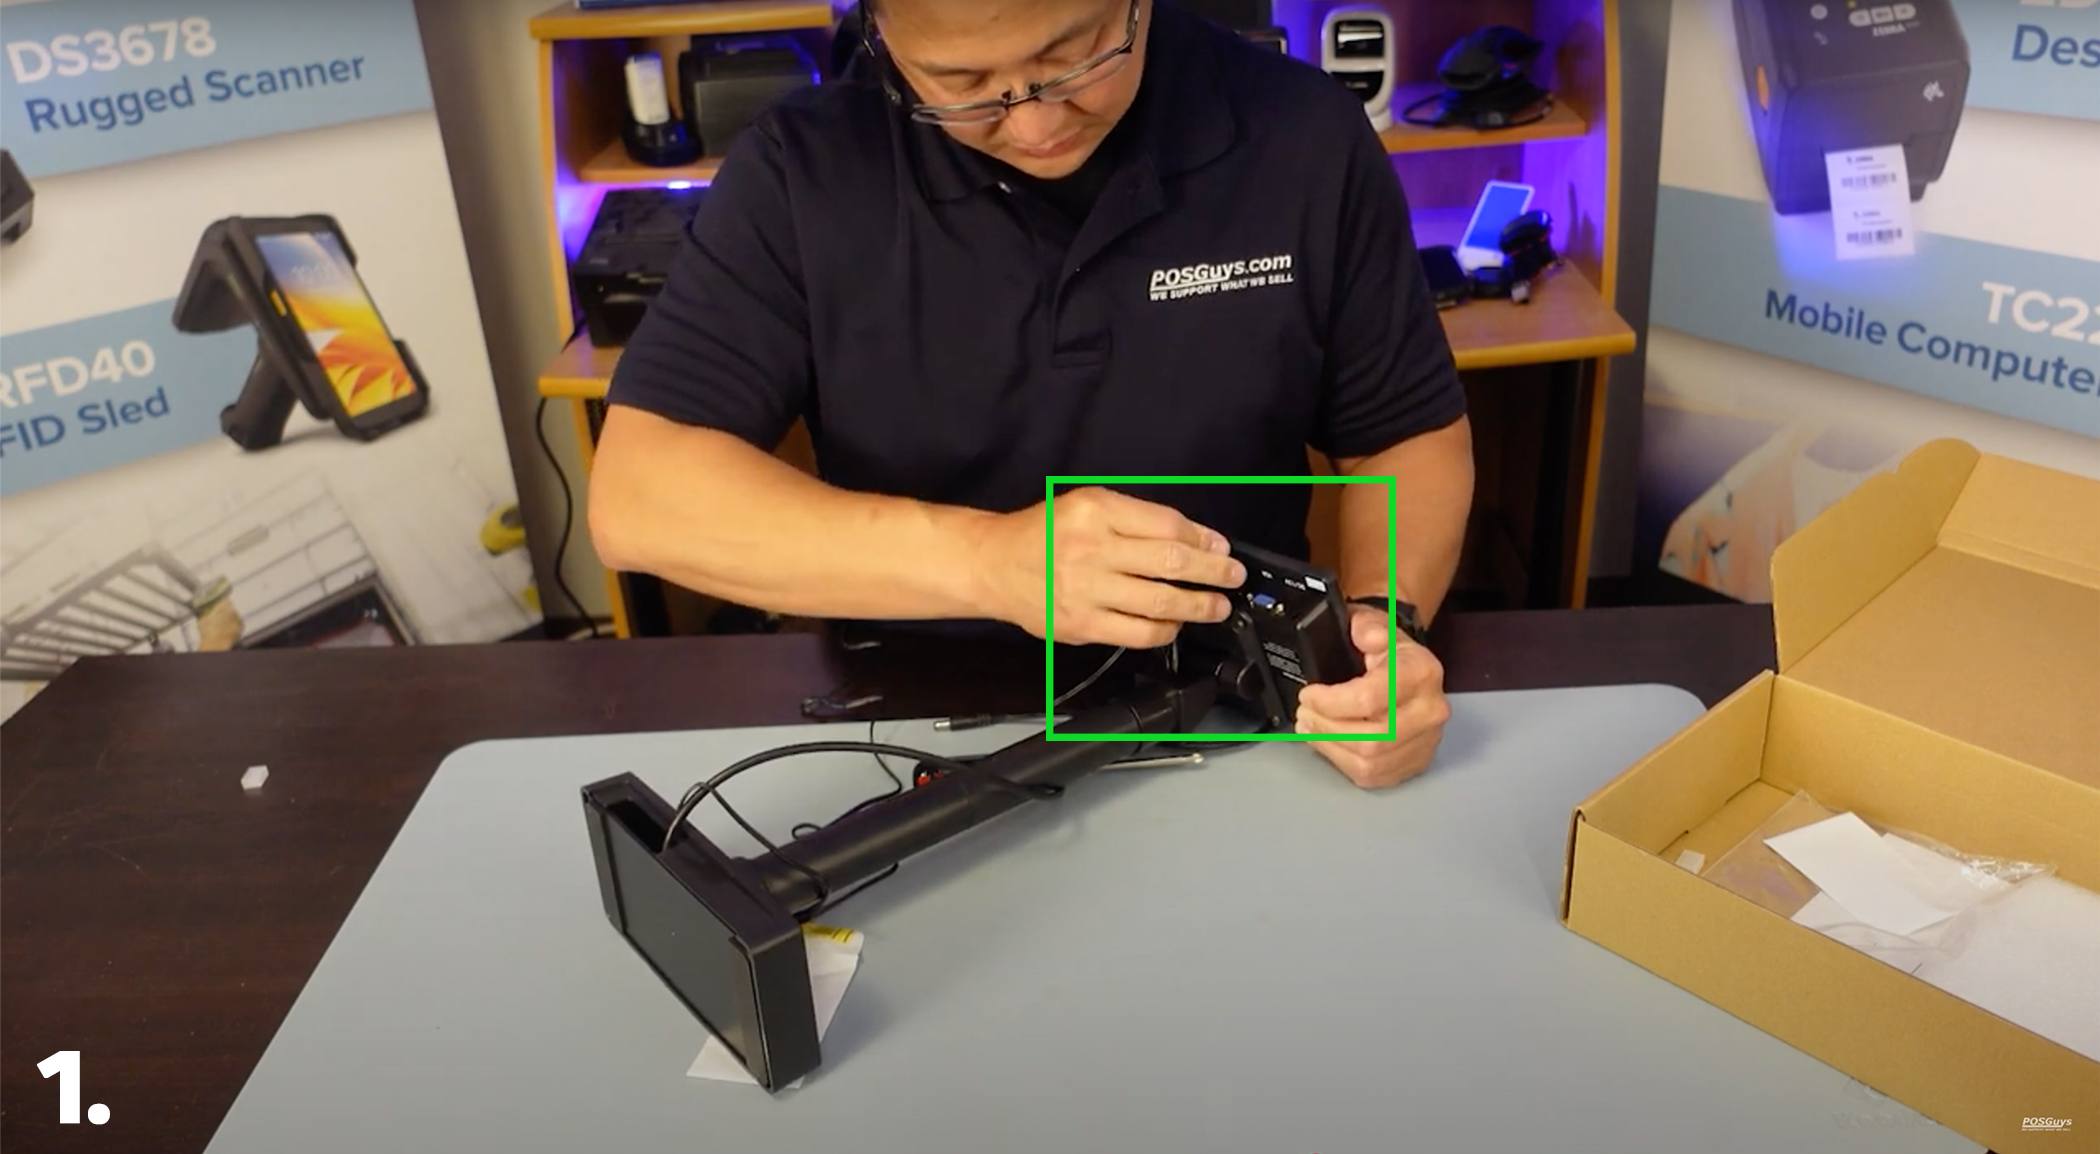
1. Plug the HDMI cable into the HDMI port on the display. (See image 1.)
2. Plug the power supply into the power port.
Step 5 (Optional): Securing to Countertop
For a permanent setup, use four 2-inch screws to secure each corner of the base to the countertop.
Step 6: Connecting to Your PC
1. Plug the HDMI cable into your PC or POS terminal.
2. Connect the power adapter to an available outlet.
3. The display should now power on and mirror or extend your screen.