Install Zebra Browser Print
- Download the installer: Download Zebra Browser Print here
- Open your Downloads folder and double-click the file.
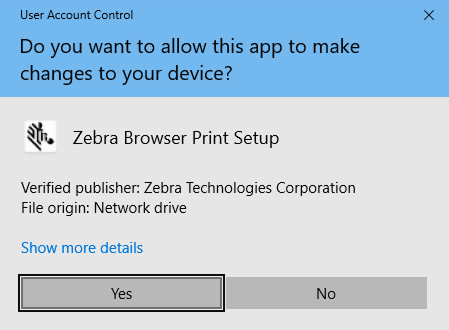
- Click "Yes" if prompted.
- Choose an install location (or leave default).
- Click "Next" through the setup prompts.
- Click "Finish" to complete and launch the app.
Set Default Printer
- Find the Zebra icon in your taskbar (bottom right).
.png)
- Right-click the icon and select "Settings".
.png)
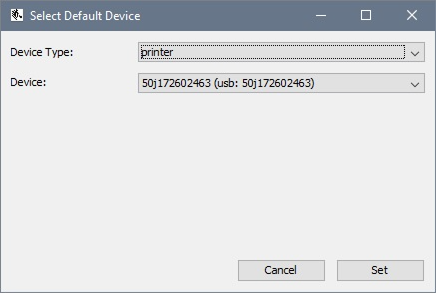
- Click "Change" next to Default Devices.
- Select your Zebra printer.
- Click "Set" to confirm.
- Close the settings window.
Connect MicroBiz to Zebra Browser Print
- In MicroBiz Back Office, go to Catalog → Price Labels.
- Select your label size (example: 2.25" x 1.25").
- Click "Test".
- Click "Yes" when prompted to allow the URL.
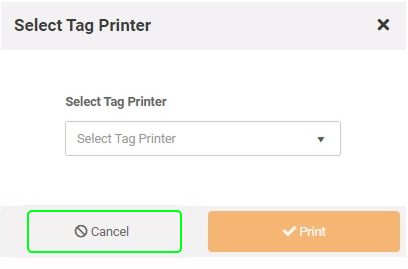
- Cancel the test print.
Print Labels
- Click "Test" again to print a label.
- Select your Zebra printer from the dropdown.
- Print from products, purchase orders, or the Price Labels Queue.
Verify Setup
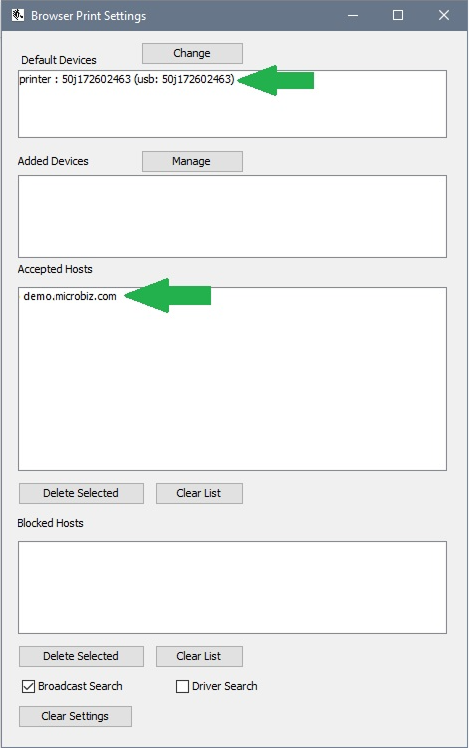
- Open Zebra Browser Print settings.
- Confirm your MicroBiz URL is listed under Accepted Hosts.
,