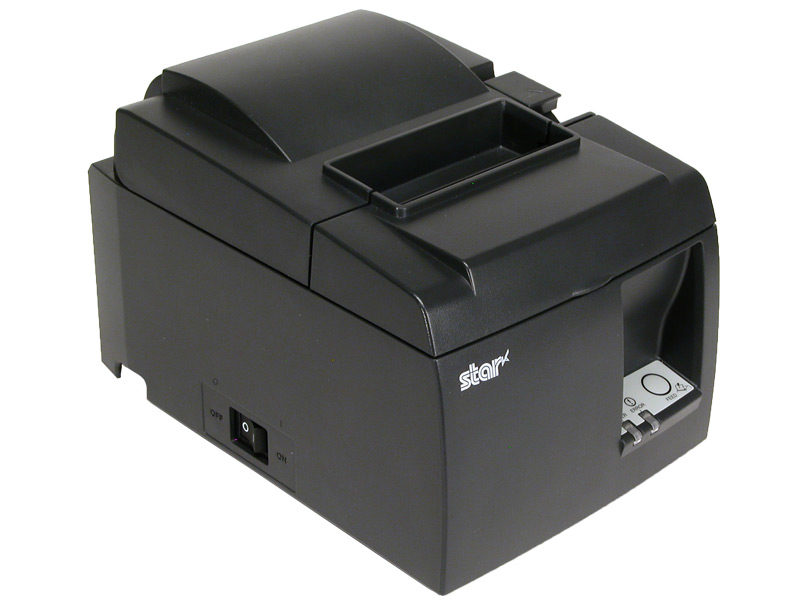
Star Micronics TSP100
The pictures shown are general images for product TSP100 and may not be applicable to all part numbers

White, Dark Grey
TSP100 Receipt Printer
The Star Micronics TSP100 has reached end of life. It has been replaced by the Star Micronics TSP100III.
The Star Micronics TSP100 receipt printer is an efficient and space-saving solution for any medium to high volume retail environment. At 4.5" per second, the TSP100 prints receipts fast enough to keep lines moving quickly and efficiently. The TSP100 also features two-color printing, and when combined with the futurePRNT configuration utility, you can add logos, coupons, or other ways to give your customer a more personalized shopping experience.
For increased longevity, the TSP100 features a print head rated with a 37 mile print-life, and the optional autocutter is rated at 1 million cuts, ensuring the Star TSP100 receipt printer will print excellently for many years.
Star TSP100
Receipt Paper
- Features
- 4.5" per second print speed
- Two Color Printing Capability
- Autocutter rated at 1 million cuts
- Windows, Linux, and Mac OS Drivers available
Everything you need to get started comes in the box, including power supply and interface cable.
The New TSP1000III is now available
| Product Specifications | |
|---|---|
| Dimensions | 142W x 204D x 132H mm |
| Weight | Auto cutter model: 1.73 Kg - Tear bar model: 1.56Kg |
| Color Options | White, Dark Grey |
| Interface | USB 2.0, Full Speed, or Powered USB Full Speed or Ethernet; Virtual Serial Port for Legacy Applications |
| Print Method | Direct thermal |
| Print Speed | 125 mm / second, 22 rpm (receipts per minute) |
| Print Resolution | 203 x 203 dpi |
| Emulation | Star Mode, ESC/POS |
| OPOS Compatible | Yes |
| Character Set | ANK 95, 32 Int 128 Graphic plus Chinese, Japanese, Korean, Taiwanese |
| Barcodes Supported | Extended barcode functionality – 9 versions / PDF417 & Maxicode (pending) |
| Graphics Printing | Yes |
| Data / Logo Storage | Yes - printer software features an image import tool to store and handle an unlimited number of jpgs, gifs and bmps |
| Operating Temperature | 41°F - 113°F (5°C - 45°C) |
| MCBF | 60,000,000 lines |
| Print Head Life | 100 Km |
| Auto Cutter Lifespan | 1 million cuts |
| Paper Dimensions | 80 mm standard width (58 mm with fitted guide), 83 mm maximum diameter |
| Paper Thickness | 0.065 to 0.085 mm |
| Two Color Printing Capabilities | Yes - red/black, blue/black, green/black (special paper required) |
| Auto Cutter | Optional - guillotine cutter |
| Wall Mountable | Yes - bracket included |
| Mac Compatible | Yes - OSX 10.2 or later |
| Software Included | CD-ROM with drivers, automatic receipt reversal software, receipt re-design and coupon marketing tools |
| In The Box | Installation CD with Drivers and futurePRNT Receipt ReDesign Software, Wall Mount Bracket, Auto Reverse Text Output Software, Vertical Mount Accessory, 58mm Paper Guide, 6ft Interface Cable, 6ft Power Cable, Power Switch Cover (Power Cable not included with PUSB versions) |
Star Micronics TSP100 Reviews
The Star TSP100 is an excellent, low-cost two-color receipt printer for any retail establishment. Though not as fast as some of the competition, the 4.5" per second print speed is still snappy, and with your choice of tear bar or auto-cutter, the savings are even greater.

